The spirit of the off-grid movement is rooted in self-reliance and the ability to build and maintain your own systems. For many DIY enthusiasts, the idea of installing a massive solar battery bank can be intimidating due to the weight and complexity of lead-acid or high-voltage lithium systems. However, the modular nature of the Edison Battery makes it uniquely suited for the solo builder, allowing you to construct a professional-grade power plant with basic tools and safety precautions.
Unlike massive monoblock batteries that require a forklift or a team of people to move, alkaline batteries are individual cells. This means you can break the project down into manageable pieces, moving one cell at a time into your battery room or shed. This accessibility empowers homeowners to take full ownership of their installation, saving thousands of dollars in professional labor costs while gaining an intimate understanding of how their power system works.
Preparation and Safety First
Before you move a single bolt, it is essential to prepare your workspace and understand the safety protocols. While these batteries are safer than other chemistries, you are still dealing with DC electricity and a caustic electrolyte. You should always wear safety goggles, rubber gloves, and protective clothing to prevent accidental splashes of potassium hydroxide, which can irritate the skin.
Sizing Your Battery Rack
Because these cells are liquid-filled and made of steel, a full bank can be quite heavy. You need to construct or purchase a sturdy racking system that can support the weight and provide easy access for maintenance. Many DIYers build custom heavy-duty wooden shelves, ensuring there is enough vertical clearance above the cells to easily pour in distilled water during maintenance checks.
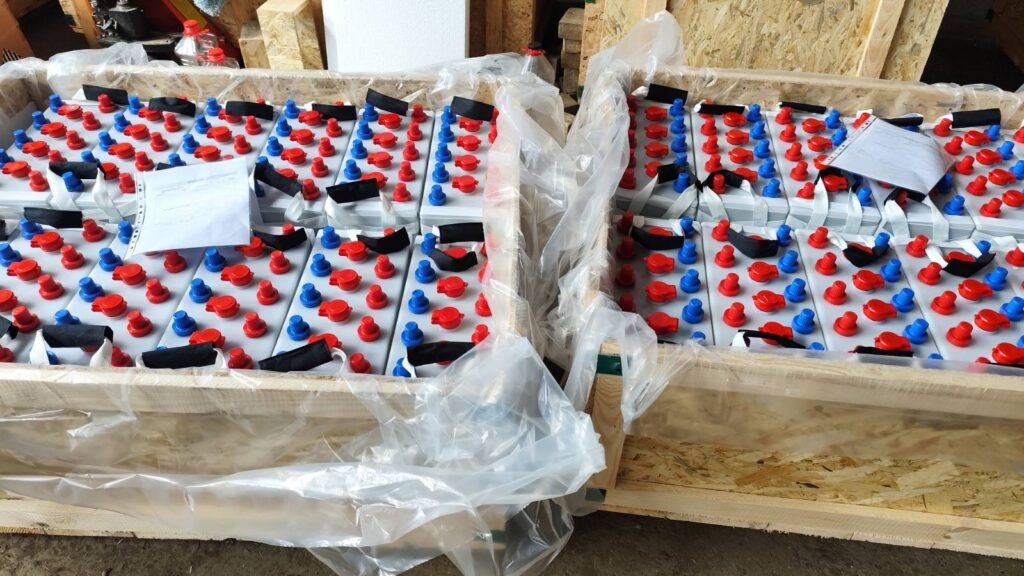
organizing the Cells
When your shipment arrives, you will unbox the individual cells and inspect them for any shipping damage. You will then place them onto your rack, arranging them in a series configuration to match your system voltage. For a 12-volt system, you will line up 10 cells; for 24-volt, 20 cells; and for a 48-volt system, you will need 40 cells in a row.
Wiring the Nickel-Iron Battery Bank
Connecting the cells is a straightforward mechanical process that does not require soldering or complex specialized tools. You will use the provided nickel-plated interconnect links to join the positive terminal of one cell to the negative terminal of the next. It is crucial to tighten these connections to the specified torque settings to ensure good electrical flow and prevent hot spots.
Managing the Electrolyte
Depending on how your batteries are shipped, they may come dry (needing filling) or pre-filled with electrolyte. If they are dry, you will carefully mix the potassium hydroxide powder with distilled water according to the instructions and fill each cell. This is the moment your Nickel-Iron Battery comes alive, so take your time and use a funnel to avoid spills.
Connecting to the Inverter
Once the series string is complete, you will have one main positive post at one end and one main negative post at the other. You will connect heavy-gauge battery cables from these main terminals to a high-quality DC breaker or fuse box, and then to your inverter. Double-check your polarity before flipping the switch, as a reverse polarity connection can damage your inverter instantly.
Steps for a Successful Install
Here is a simplified workflow for your installation day.
- Design: Plan your rack layout to fit the specific cell dimensions.
- Protection: Wear eye protection and alkali-resistant gloves at all times.
- Inspect: Check every cell casing for dents or leaks upon delivery.
- Place: Lift cells individually onto the rack, spacing them slightly apart.
- Link: Install interconnects from Positive to Negative down the line.
- Torque: Use a wrench to tighten nuts firmly, ensuring solid contact.
- Fill: Add electrolyte to the fill line if cells were shipped dry.
- Cable: Run main cables to a catastrophic fuse for safety.
- Check: Measure total voltage with a multimeter before connecting.
Conclusion on DIY Power
Completing the installation of your own battery bank is a moment of immense pride and satisfaction. You have not just bought a product; you have built the heart of your home’s infrastructure with your own hands. This hands-on process demystifies the magic of electricity, transforming it from a scary invisible force into a manageable resource.
With your Nickel-Iron Battery successfully installed, you can look forward to decades of service from a system you understand inside and out. If a connection ever comes loose or a cell needs water, you will know exactly what to do because you were the one who put it there. It is the ultimate expression of the independent lifestyle, powering your home with your own knowledge and effort.